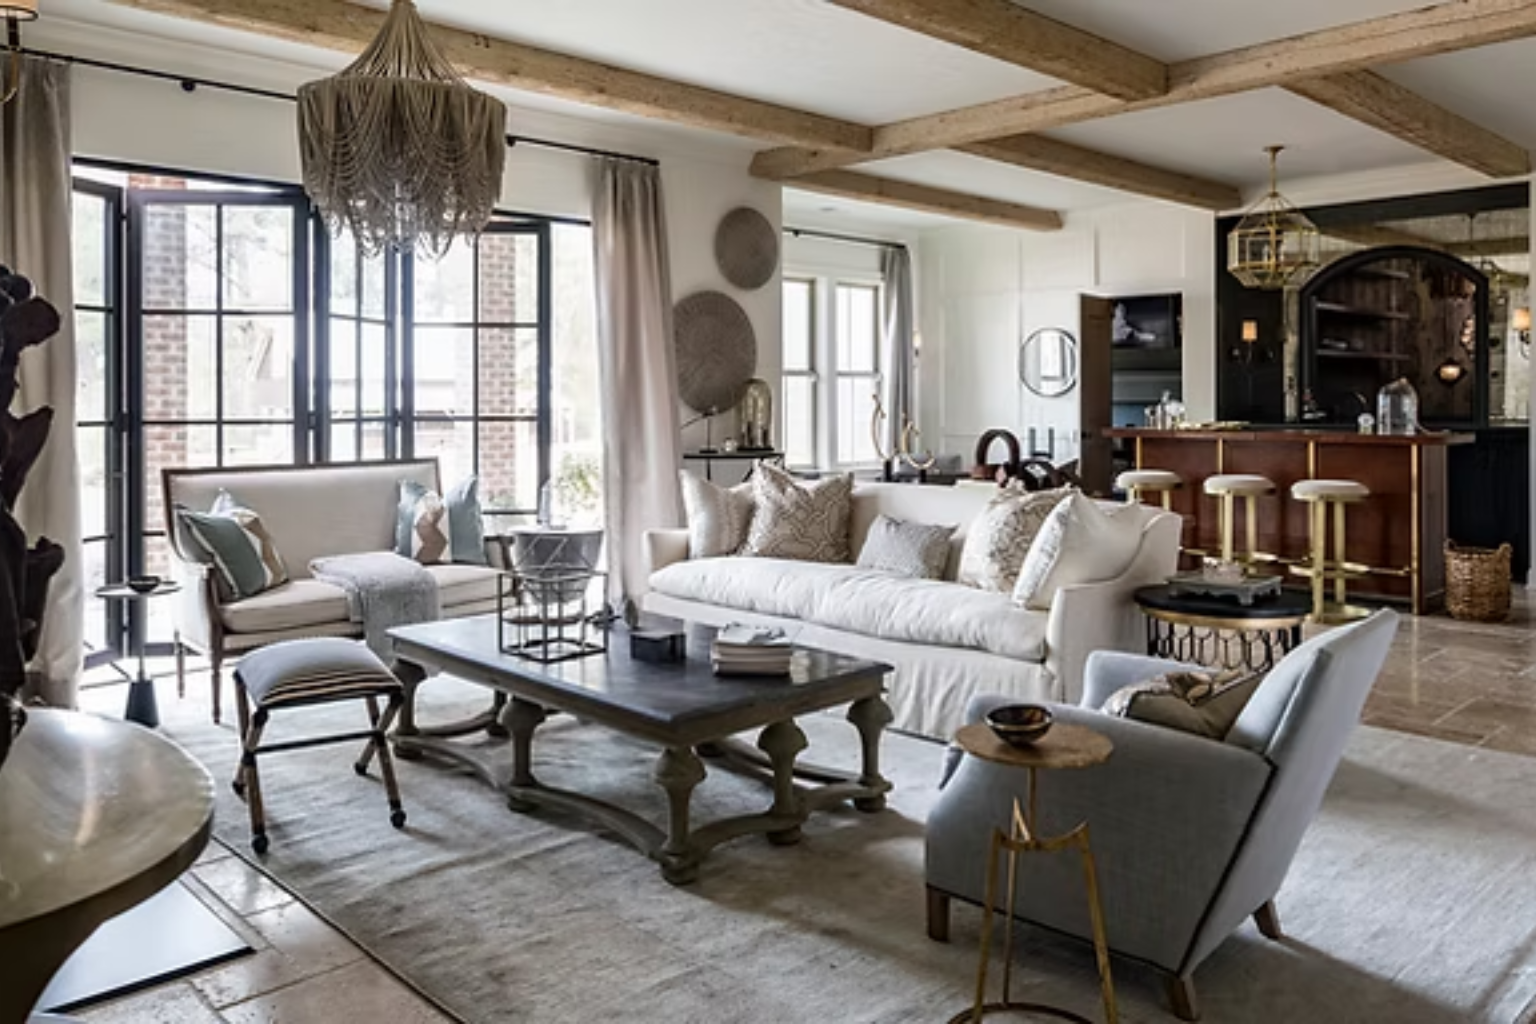
Home improvement doesn’t have to be daunting or reserved for seasoned experts. With the right approach and a few tools, even beginners can tackle a range of DIY projects that will enhance their living spaces. Whether you’re looking to boost your home’s aesthetics, improve functionality, or simply embark on a satisfying weekend project, here are five easy home improvements that are perfect for those new to DIY.
1. Freshen Up with a New Coat of Paint
One of the simplest and most transformative DIY projects is painting. A fresh coat of paint can breathe new life into any room, making it look cleaner, brighter, and more modern. Here’s a step-by-step guide for beginners:
a. Choose Your Paint: Select a color that complements your existing decor. Consider lighter shades for small spaces to make them appear larger, and bold colors for accent walls to add character.
b. Gather Supplies: You’ll need paint, brushes or rollers, painter’s tape, drop cloths, and a paint tray. Opt for high-quality paint to ensure a smooth finish.
c. Prepare the Room: Remove or cover furniture and use painter’s tape to protect trim, windows, and doors. Lay down drop cloths to catch any spills.
d. Paint: Start with the edges and corners using a brush, then use a roller for the larger areas. Apply multiple coats if needed, allowing adequate drying time between coats.
e. Clean Up: Remove the painter’s tape while the paint is still slightly wet to avoid peeling. Clean brushes and trays with water or appropriate solvents.
Painting is not only easy but also a cost-effective way to update your home’s look. It’s a great starting point for beginners and offers immediate results.
2. Install New Cabinet Hardware
Updating cabinet hardware is another straightforward DIY project that can dramatically change the look of your kitchen or bathroom. Here’s how you can do it:
a. Choose Hardware: Select knobs or handles that match the style of your cabinets and the overall decor of your room. Modern, sleek designs work well in contemporary spaces, while vintage hardware suits traditional settings.
b. Remove Old Hardware: Unscrew the existing knobs or handles from the cabinets. If the holes don’t line up with your new hardware, you may need to fill and drill new ones.
c. Install New Hardware: Position the new knobs or handles and screw them into place. Ensure they are aligned and secure.
d. Finishing Touches: If your new hardware has different mounting holes, use wood filler to cover the old holes and repaint the area if necessary.
Changing cabinet hardware is a quick project that can give your cabinets a fresh, updated appearance without a full renovation.
3. Update Light Fixtures
Replacing outdated light fixtures can instantly modernize a room and improve lighting quality. Here’s a basic guide for beginners:
a. Choose New Fixtures: Pick light fixtures that enhance the room’s style and provide adequate illumination. Consider energy-efficient LED options for long-term savings.
b. Turn Off Power: Safety first—ensure the power is turned off at the circuit breaker before working on electrical fixtures.
c. Remove Old Fixtures: Unscrew the old light fixture and disconnect the wiring. Note how the wires are connected for reference.
d. Install New Fixtures: Connect the wires of the new fixture to the existing wiring according to the manufacturer’s instructions. Secure the fixture to the ceiling or wall and screw it into place.
e. Turn On Power: Restore power at the circuit breaker and test the new fixture to ensure it’s working properly.
Updating light fixtures is a manageable project that can make a significant impact on your home’s ambiance and functionality.
4. Create a DIY Gallery Wall
A gallery wall is a creative way to display art, photographs, and other personal items. It’s a beginner-friendly project that allows for flexibility and personal expression. Here’s how to create one:
a. Choose Your Wall: Select a wall that’s visible and suitable for showcasing art or photos. Consider starting with a smaller wall if you’re new to this type of project.
b. Gather Your Pieces: Collect frames, prints, and other items you want to display. Arrange them on the floor or a large table to plan your layout before committing to nails or hooks.
c. Arrange and Hang: Start by hanging larger pieces first and work around them with smaller items. Use a level to ensure everything is straight and a measuring tape to keep spacing consistent.
d. Hang with Care: Use picture hooks or nails appropriate for the weight of your frames. Ensure they’re securely anchored to avoid falling.
e. Adjust and Enjoy: Step back periodically to assess the arrangement and make adjustments as needed.
A gallery wall is a fun project that allows you to personalize your space and showcase your favorite items with minimal expense and effort.
5. Enhance Curb Appeal with Simple Landscaping
Improving your home’s curb appeal doesn’t require a professional landscaper. Simple landscaping tasks can make a big difference. Here’s how to get started:
a. Plan Your Landscape: Decide what changes you want—flower beds, shrubs, or decorative elements. Sketch out your ideas to visualize the final result.
b. Gather Supplies: Depending on your project, you may need mulch, soil, plants, gardening tools, and decorative items like garden statues or bird feeders.
c. Prepare the Area: Clear the area of weeds and debris. Add fresh soil or mulch where needed.
d. Plant and Arrange: Follow planting instructions for your chosen plants. Space them according to their growth requirements and arrange them aesthetically.
e. Maintain: Water your plants regularly and keep the area free of weeds and debris.
Simple landscaping projects can significantly enhance your home’s exterior, creating a welcoming environment and boosting curb appeal.
Conclusion
Embarking on DIY projects can be both rewarding and empowering, especially when starting with simple, manageable tasks. From painting and updating hardware to installing light fixtures, creating gallery walls, and enhancing curb appeal, these beginner-friendly home improvements offer an opportunity to personalize and improve your living space without overwhelming complexity. With a bit of preparation and creativity, you can achieve impressive results and enjoy the satisfaction of a job well done. So, roll up your sleeves, gather your tools, and get started on transforming your home into a more vibrant and functional space!


